|
|
🦋 Tin-can Cello: slowly approaching setup
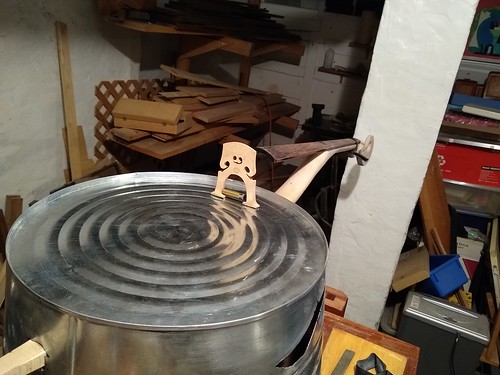
My tin-can cello is becoming a real thing... three major things left to do are
- Finish the neck and scroll: I will disassemble it for this; waiting on delivery of a bottle of varnish and of a UV lamp to help the varnish dry. (I'm going to leave it with the neck and body put together and the various braces in place for the time being, and just go downstairs every couple of hours to crow over it :), until the varnish arrives.)
- glue up the fingerboard and nut. This will need to wait until the process of finishing is complete.
- set up the backing skin for the body. I'm waiting on delivery of a 20" bass drumhead, and need to buy some steel braces that I will bend to shape. (Or wait, no, maybe I will cut supports for the drumhead out of maple.) Update, the drumhead idea is a mistake. I will cut a back out of ¼" plywood.

And then I can start on the setup! (Oh one other thing I'm waiting on delivery of, is a tailcord. And I have not purchased any strings yet.) Setup entails:
 - Putting the tailpiece on.
- Carving the feet of the bridge.
- Putting on A and C strings.
- Calculating height of bridge. (Leave ⅛" to account for deflection of the soundboard!)
- Carving top of bridge.
- Putting on all four strings to check tension, height, and spread of bridge feet; correcting if necessary. Adjusting slots in nut.
- Carving bridge in thickness and chamfer.
- Final stringing.
- First playing!
I am hoping to broadcast live video of the final stringing and first notes of the instrument! Fingers crossed!
posted afternoon of Saturday, September 8th, 2018
➳ More posts about The Tin-can Cello
➳ More posts about Projects
| |
|
Drop me a line! or, sign my Guestbook.
•
Check out Ellen's writing at Patch.com.
| |

